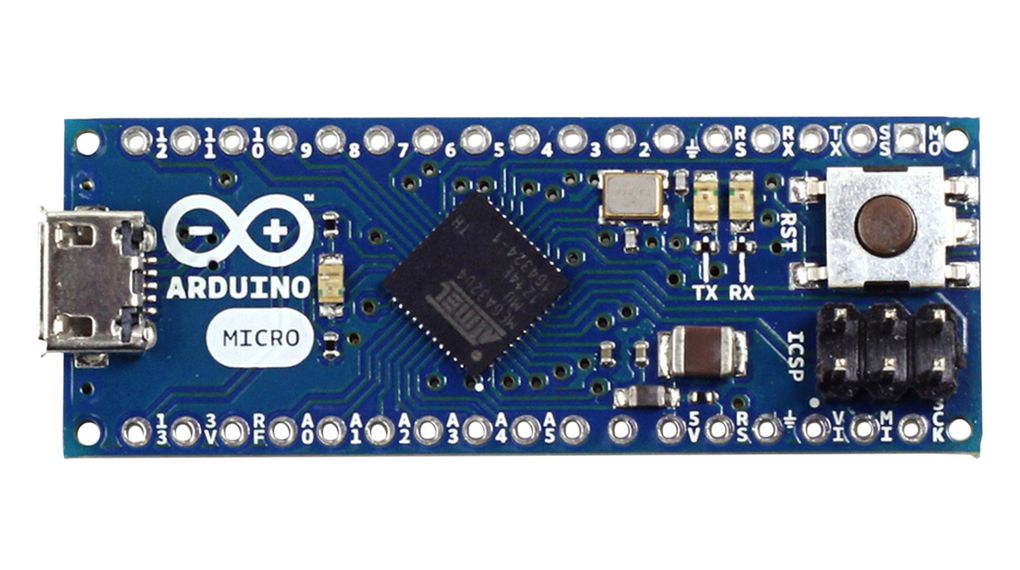
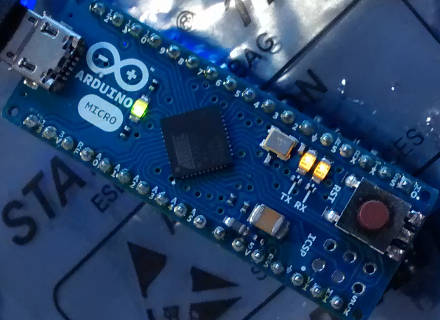
Arduino Micro: direct access to on-board leds
How To Blink An LED Using Arduino (4 Different Ways)

Arduino Nano ESP32
L1: Turning on an LED - Physical Computing

BLINKING THE BUILDIN LED - Arduino tutorial #1
Sensors, Free Full-Text

Control an LED Over the Internet Via Arduino With Teleduino : 3 Steps - Instructables
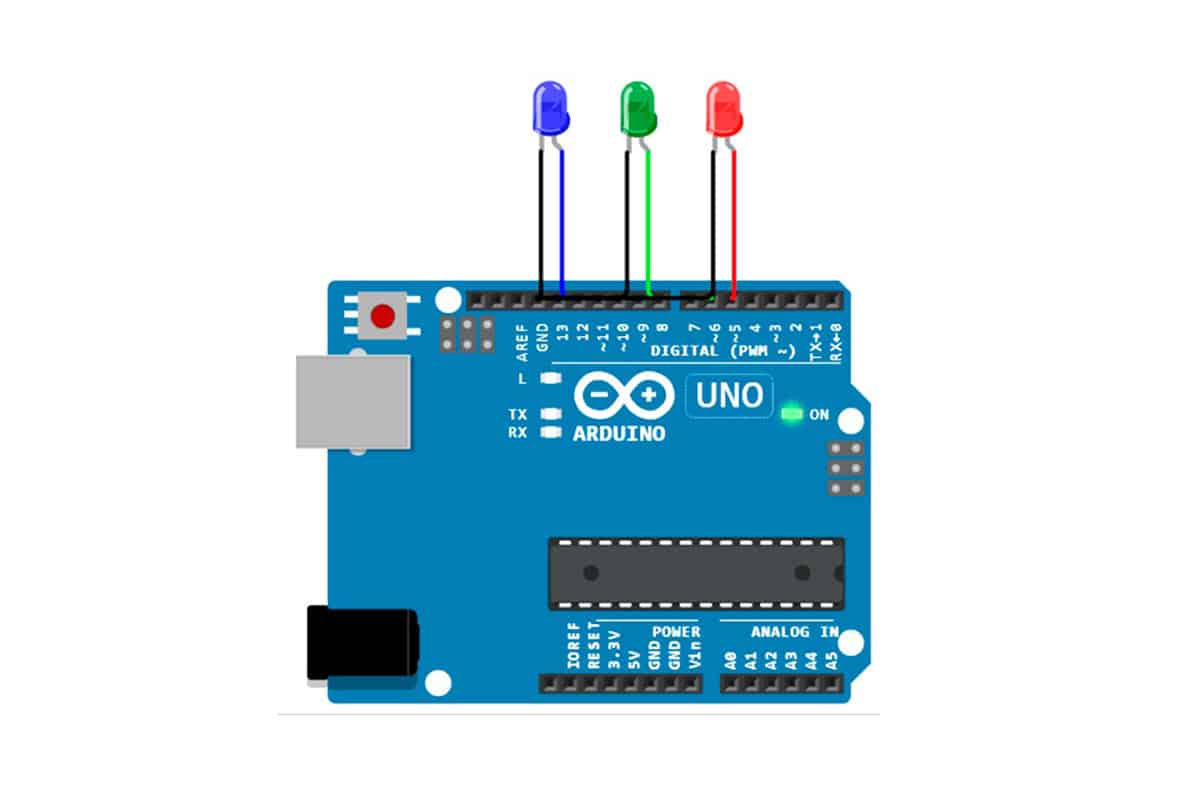
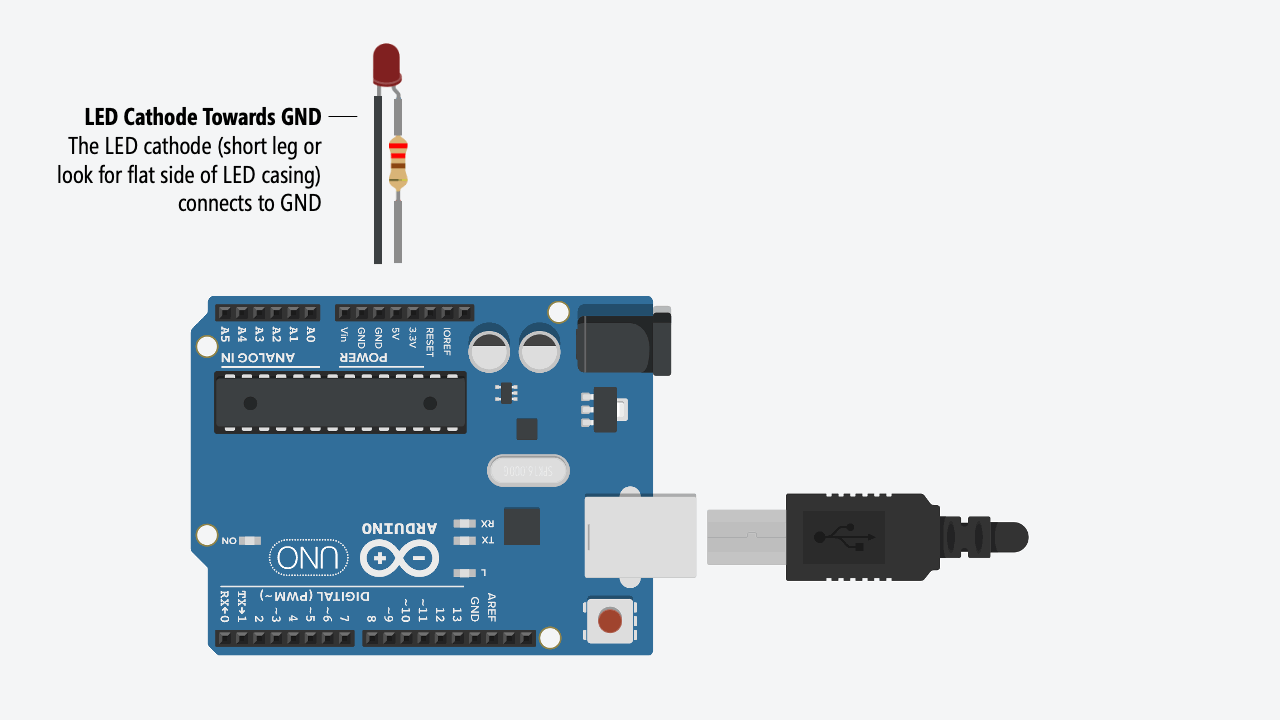
Arduino Tutorial - Lesson 3 - Breadboards and LEDs

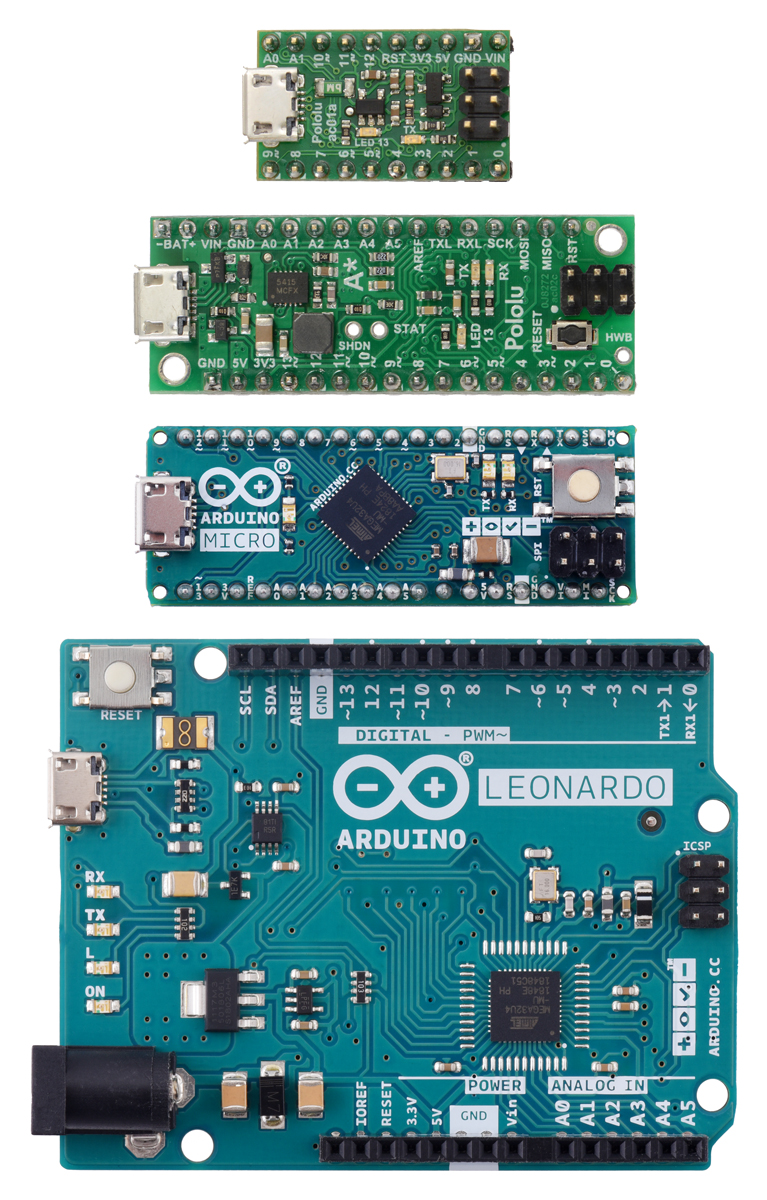
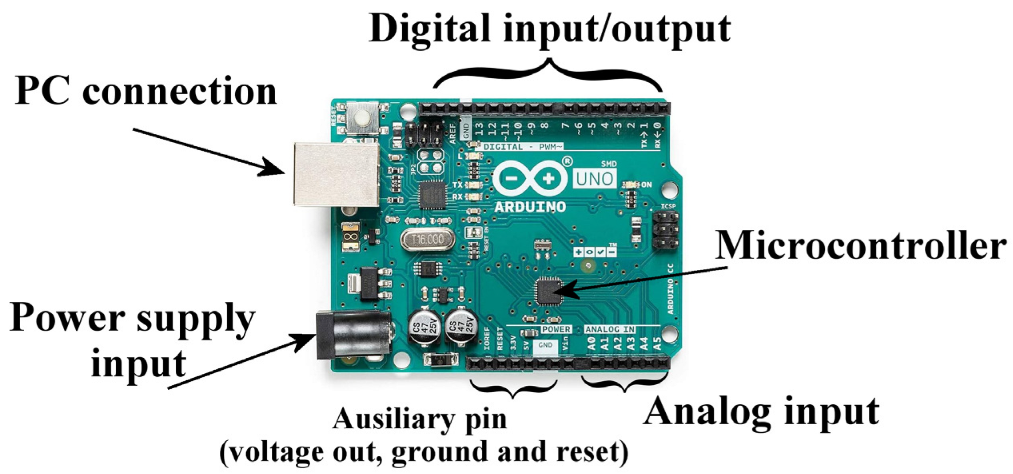
The Ultimate Arduino Board Guide For Beginners and Experts - Whadda

DIY Arduino UNO How to Make Your Own Arduino Uno Board : 8 Steps - Instructables
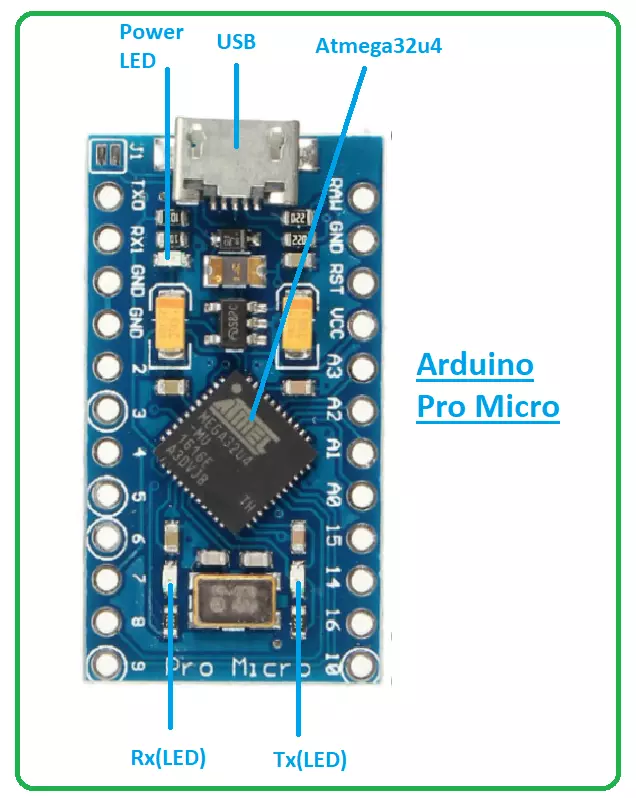
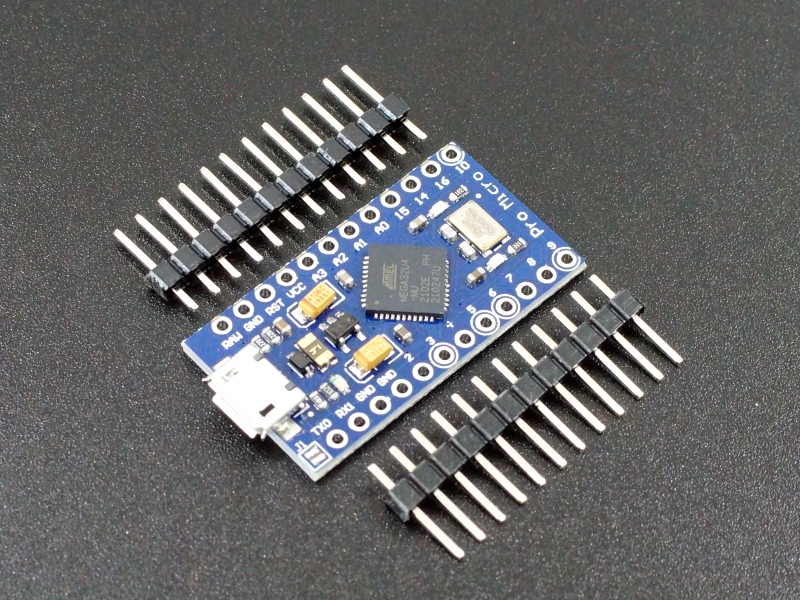
Introduction to Arduino Pro Micro - The Engineering Projects
The Micro is a microcontroller board based on the ATmega32U4, developed in conjunction with Adafruit. It has 20 digital input/output pins (of which 7 can be used as PWM outputs and 12 as analog inputs), a 16 MHz crystal oscillator, a micro USB connection, an ICSP header, and a reset button. It contains everything needed to support the microcontroller; simply connect it to a computer with a micro USB cable to get started. It has a form factor that enables it to be easily placed on a breadboard.
Arduino 5V Micro with Headers
Turning on an LED with your Raspberry Pi's GPIO Pins
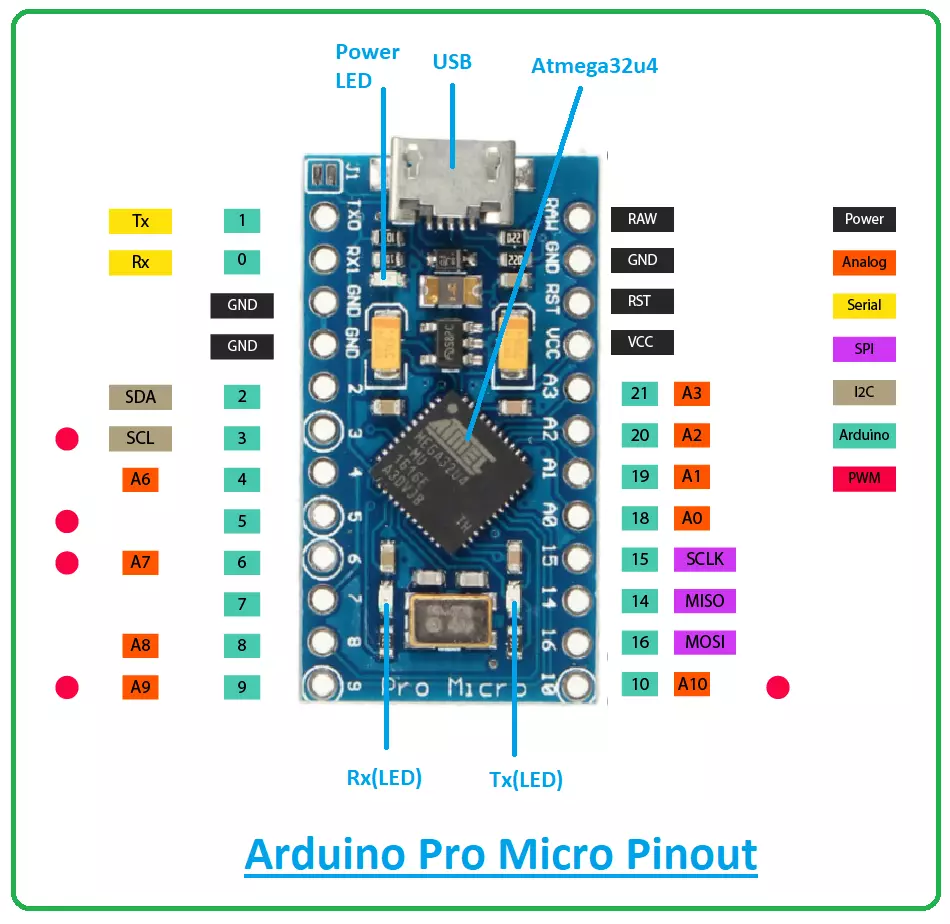
Introduction to Arduino Pro Micro - The Engineering Projects

Pololu - A-Star 328PB Micro - 5V, 20MHz